


Connecting a DataView and Web Part for one list through Web Part Connection is useful, for example, with an employee list.
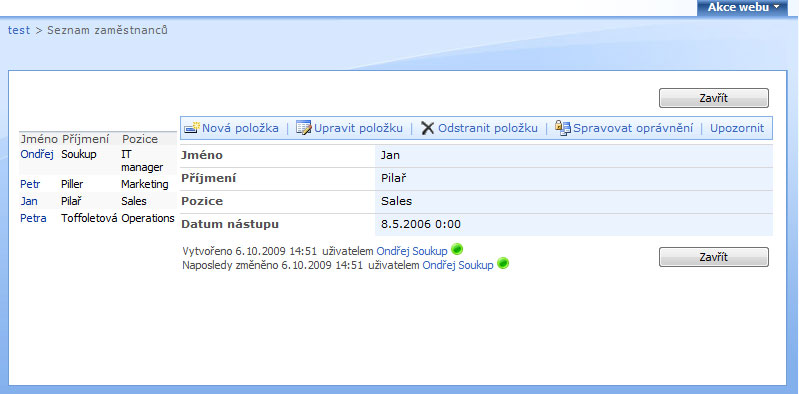
Connecting a Data View and Web Part for one list using Web Part Connection
1. Creating a new list (or using an existing one)
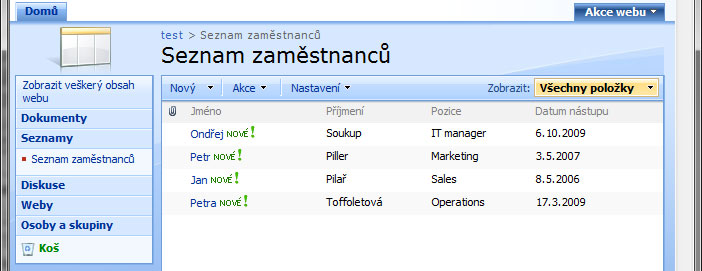
For this example, I created the list "Employee list", where selecting an employee name should display their details; see Figure 2. (You can also use an existing list)
2. Creating a new ASPX page
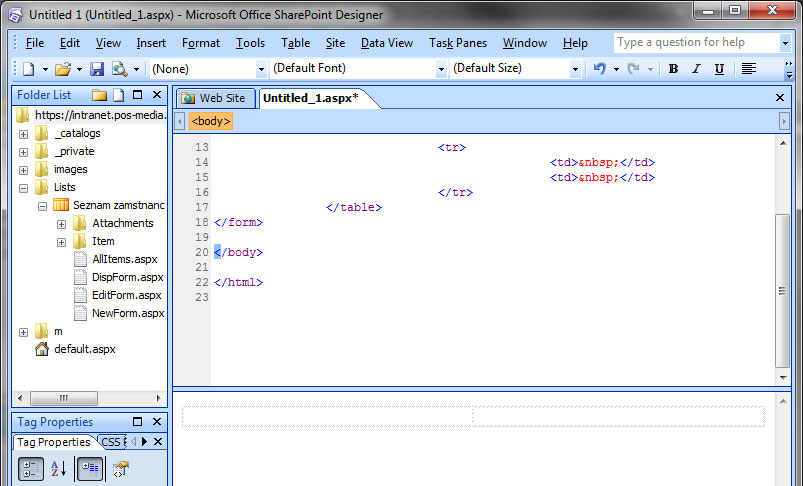
To create the connection, first create a new ASPX pageand a table with two columns and one row; see Figure 3. The left cell contains employee names using Data View, and the right cell serves as the DispForm.aspx for the selected employee.
Creating a new ASPX page:
File – New – ASPX
Creating the table:
Inside the existing form – Table – Insert Table – Rows set to 1 – Columns leave at 2 – Cell padding and spacing set to 0
3. Inserting a Data View and Custom List Form
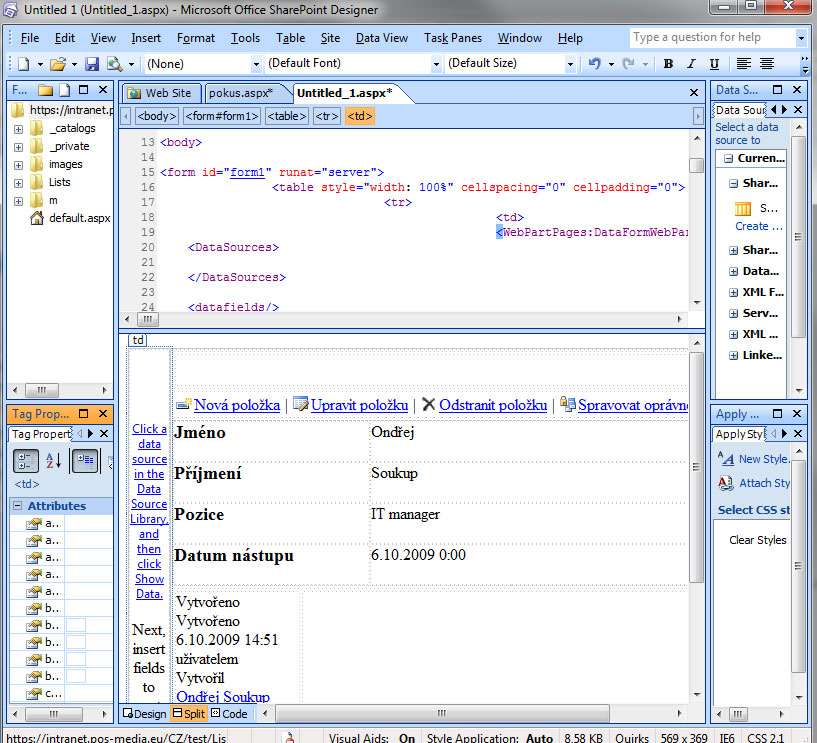
Inserting a Data View:
click inside the new table's left cell and Data View – Insert Data View
Inserting a Custom List Form:
click inside the new table's right cell and Insert – SharePoint Controls – Custom List Form – select List – Type change to Display item form
4. Data View a Web Part Connection
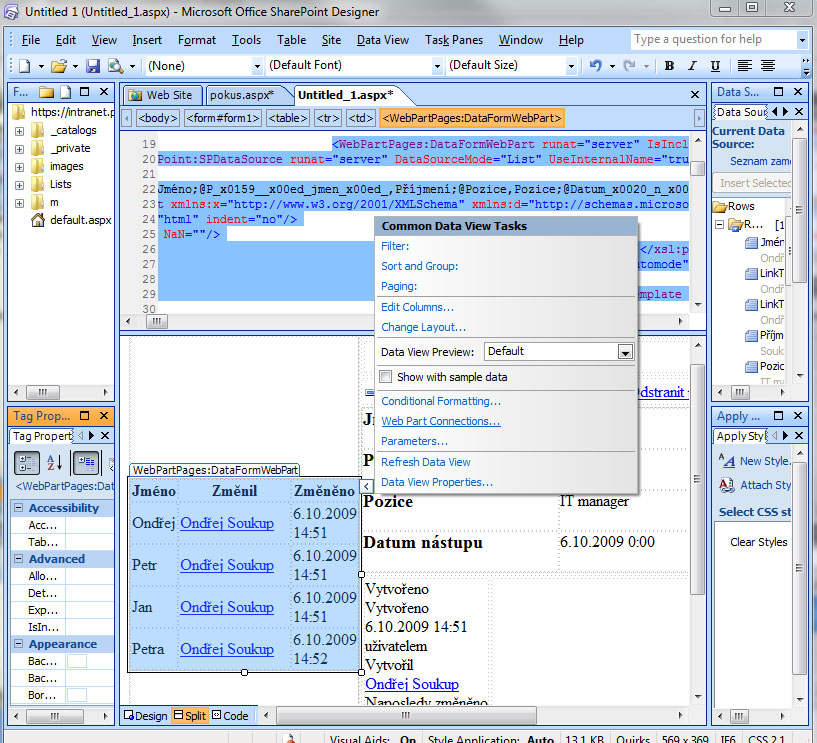 In Data Source Librery select the relevant List and drag it to the created DataView. Right-click the squarein the upper-right corner of DataView and click Web Part Connection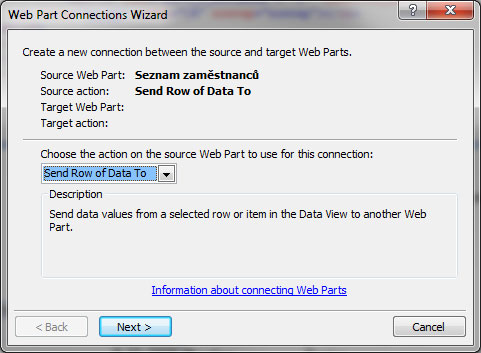
choose the source and destination of the connection
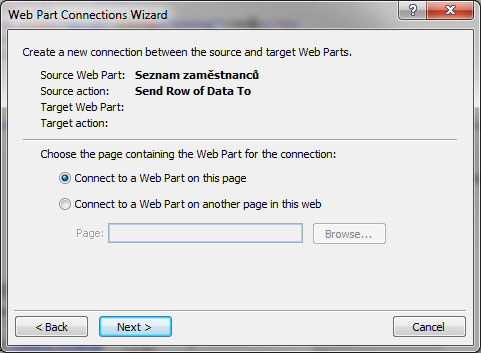
choose whether the Web Part is on this page or another
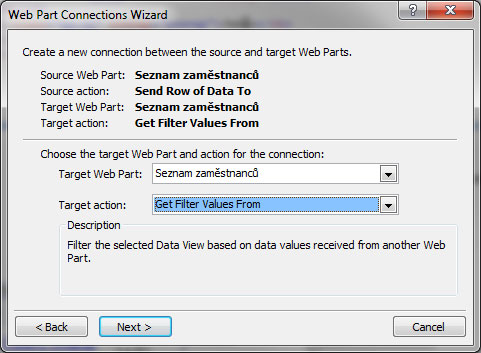
select the target list and action
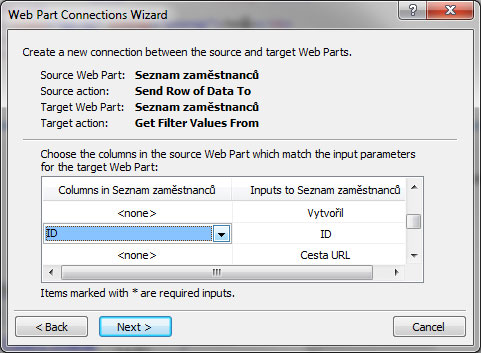
connect by finding ID under Inputs to and selecting ID under Columns in
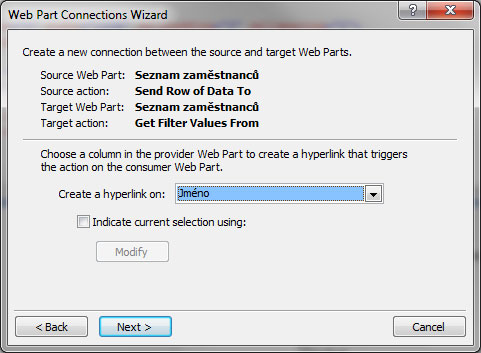
select the column to use as a hyperlink
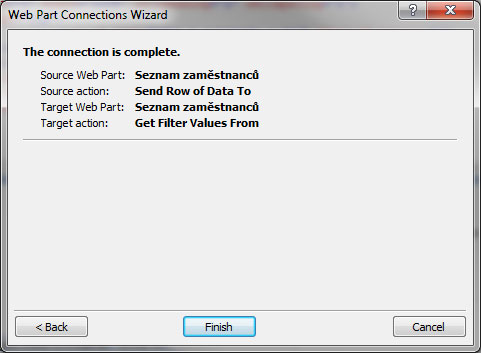
finish the connection
Komentáře